
Creating and managing categories
Categories are used to organize your grade center and calculate weighted grades. Some items go automatically into categories:
- Online tests, quizzes, etc. go into the category “tests”
- Graded discussion forums go into “discussion”
- “Assignments” (the tool for turning in an returning papers) go into the category “Assignments”
These may or may not match your grading scheme. For example – some of your online tests may be “quizzes” while others are midterm exams, unit exams, etc. Some of your discussion may count as “Participation” while others count in other categories. You can create as many categories as you need and place grade columns in the appropriate category.
Go to the grade center
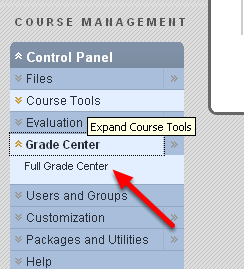
In the Control Panel, expand “Grade Center” then click on “Full Grade Center”.
Under “Manage” go to “Categories”
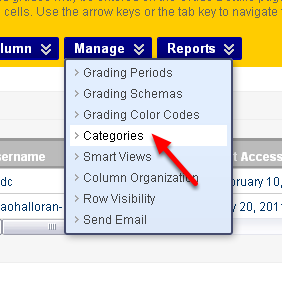
In the Grade Center, move your mouse over the Manage button and then click on “Categories”.
Create the category you want
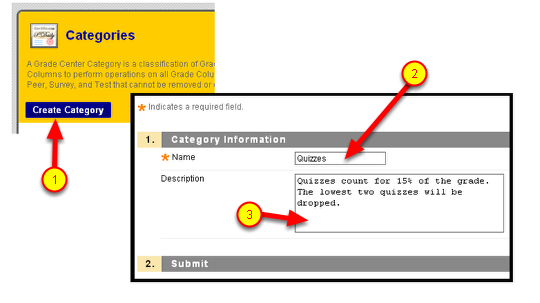
- Click on the “Create Category” button
- Give your category a name
- Add a description if desired.
- Click Submit
Delete unwanted categories
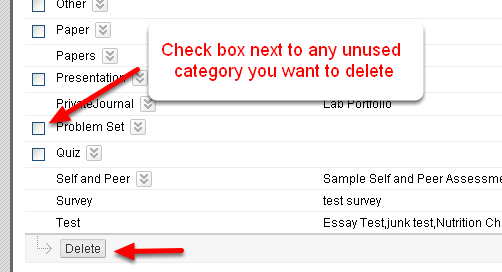
In the Grade Center, after you click on “Manage” and then “Categories, you may have noticed that you have all your categories listed. This includes pre-made categories as well as any you have created. You can simplify things by deleting unwanted Categories. (You cannot delete categories that are in use or those which are the automatic categories such as “test”, “discussion”, “assignment”)
Simply check the box next to any unused category you want to delete, then click the delete button.
This screen is also a good place to quickly see which categories your items are already in.
Placing items in categories

To place an individual item in a category, click on the drop-down menu in the column header (the downfacing arrows) then click Edit Column Information
Assign a Category
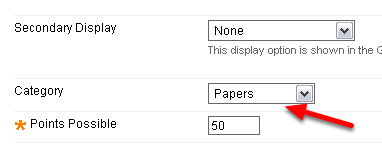
Within area 1. Column Information, choose a category for that grade column.
Change category for multiple items
You can change the category for multiple items at the same time.
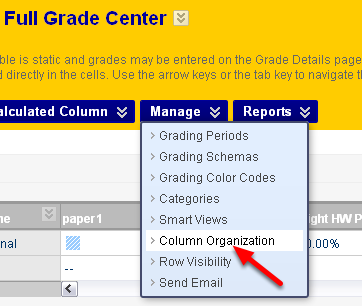
- In the Full Grade Center, Go to Manage and Column Organization
Check off the items you want to place in the same category
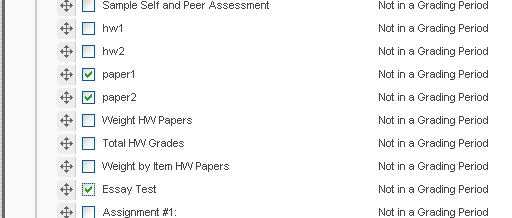
Check the box next to all the items you want to place in the same category
Scroll to the top or bottom and look for the button “Change Category to …”
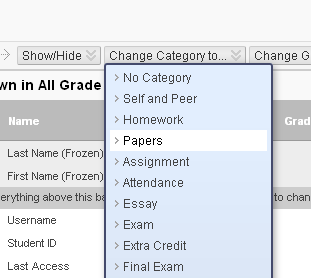
- Scroll to the top or bottom and find the button “Change Category to … “
- When you move your mouse over this button – you’ll get a list of all the categories.
- Click on the Category you wish to move your items into.
Next step: Weighted grades by category
One to the most useful features of categories is that you can make a column to calculate a Weighted Total using categories. This will be described separately.
